Azumasan Maru
Protected Area
Komarindi
Why dive here
With 391+ marine species recorded in the area - including barracuda, blacktip reef sharks, grey reef sharks, humpback whales and orcas - Azumasan Maru offers some of Iron Bottom Sound's richest wreck diving. Water ranges 29-31°C, warmest January, April, December.
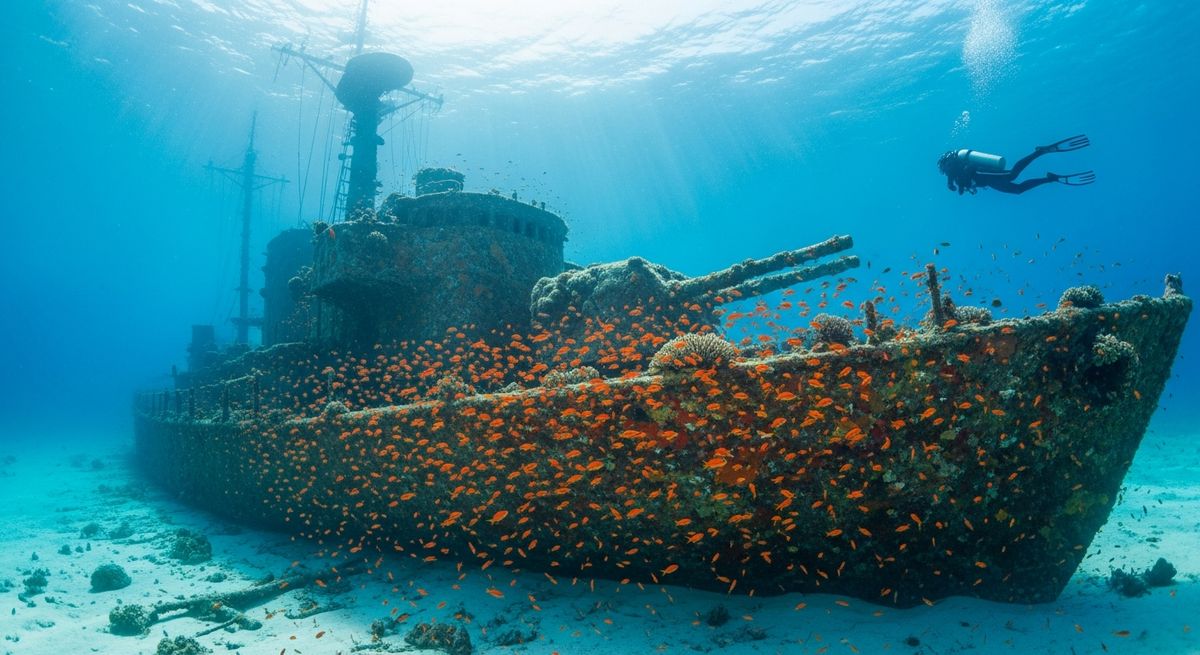
The Azumasan Maru is one of those wrecks we keep coming back to in Iron Bottom Sound. She’s not one of the colossal ones, but her character really shines. Sitting upright, the bow is the shallower end, peaking around 34m, which means you get a good chunk of bottom time if you're mindful of your deco. We always start at the bow, dropping down to that sandy patch to look back at the silhouette; it's a fantastic shot, especially if you catch some schooling fish in the foreground. Our favourite part, though, is the cargo. Head to the second hold, and you'll find a jumble of motorbikes and sidecars. It’s a real snapshot of wartime logistics, frozen in time. Around the wreck, the soft corals have really taken hold, painting the metal in purples and oranges. Look closely, and you’ll spot Hexagon Groupers peeking from crevices, and the flash of Black Butterflyfish against the hull. Visibility averages around 15m, which is decent enough to appreciate the scale and the details, but keep an eye on your depth here; it slopes quickly past the bow. This site really suits divers who appreciate historical context and enjoy a bit of wreck penetration without going too deep or complex.
Safety Notes
Wreck site - avoid penetration without wreck diving certification. Watch for sharp metal and entanglement hazards.
Azumasan Maru Wreck History
Year Sunk
1942
Vessel Type
cargo ship
Cause
grounding
Tonnage
7,623 GRT
The Azumasan Maru began her life in 1933 as a civilian freighter for Mitsui Bussan Kaisha. With the outbreak of war, she was requisitioned by the Imperial Japanese Navy and converted into a troop transport, a role that would seal her fate in the Solomon Islands. She participated in the initial invasion of Tulagi in May 1942, where she was damaged by aircraft from the USS Yorktown. Her final mission was as part of the 'Tokyo Express,' a convoy desperately trying to resupply Japanese forces on Guadalcanal.
On October 15, 1942, while unloading troops and supplies near Tassafaronga Point, the convoy came under relentless attack from US aircraft based at the nearby Henderson Field. Severely damaged by dive bombers, the Azumasan Maru's captain deliberately beached her to prevent sinking and salvage her precious cargo. She was hit again by B-17 bombers the next day, ensuring she would never sail again. Today, she is a spectacular technical dive, sitting upright on a steep slope that drops into the depths of the legendary Iron Bottom Sound. The bow rests around 40-50 meters, while the stern plummets to over 80 meters. The wreck is adorned with vibrant soft corals and is a world-class site for underwater photographers, offering a hauntingly beautiful window into a pivotal moment in WWII history.
Nearest Dive Centres to Azumasan Maru
Dive shops near Azumasan Maru
View all dive centres in Iron Bottom SoundReviews for Azumasan Maru
Conditions
Ocean conditions, forecast and tides for Azumasan Maru
Azumasan Maru Ocean Conditions
Monthly averages for Azumasan Maru, sourced from Open-Meteo marine data - nearest station: Open-Meteo marine grid (-9.03, 159.16) (58km away)
October Averages
Sea Temperature
30°C
85°F · Range: 28.7–30.5°C
Air Temperature
27°C
80°F
Wind Speed
3.74 m/s
7.3 knots
Atmospheric Pressure
1010.5 hPa
Based on 4 years of monitoring data · Data sources: Open-Meteo marine data
Plan & book
Ways to dive Iron Bottom Sound, from day trips to liveaboards.
Day trips & courses
via GetYourGuideGuided dives, courses and snorkel trips with instant booking.
Find dive trips in Iron Bottom SoundPlaces to stay
via Booking.comHotels and dive resorts near Iron Bottom Sound.
Search stays in Iron Bottom SoundDive insurance
Most travel insurance excludes or limits scuba. Check what you need before you go.
Dive insurance explainedPartner links: we may earn a commission if you book, at no extra cost to you. How we make money
Where to Stay near Azumasan Maru
Prices from Booking.com. We may earn a commission at no extra cost to you.